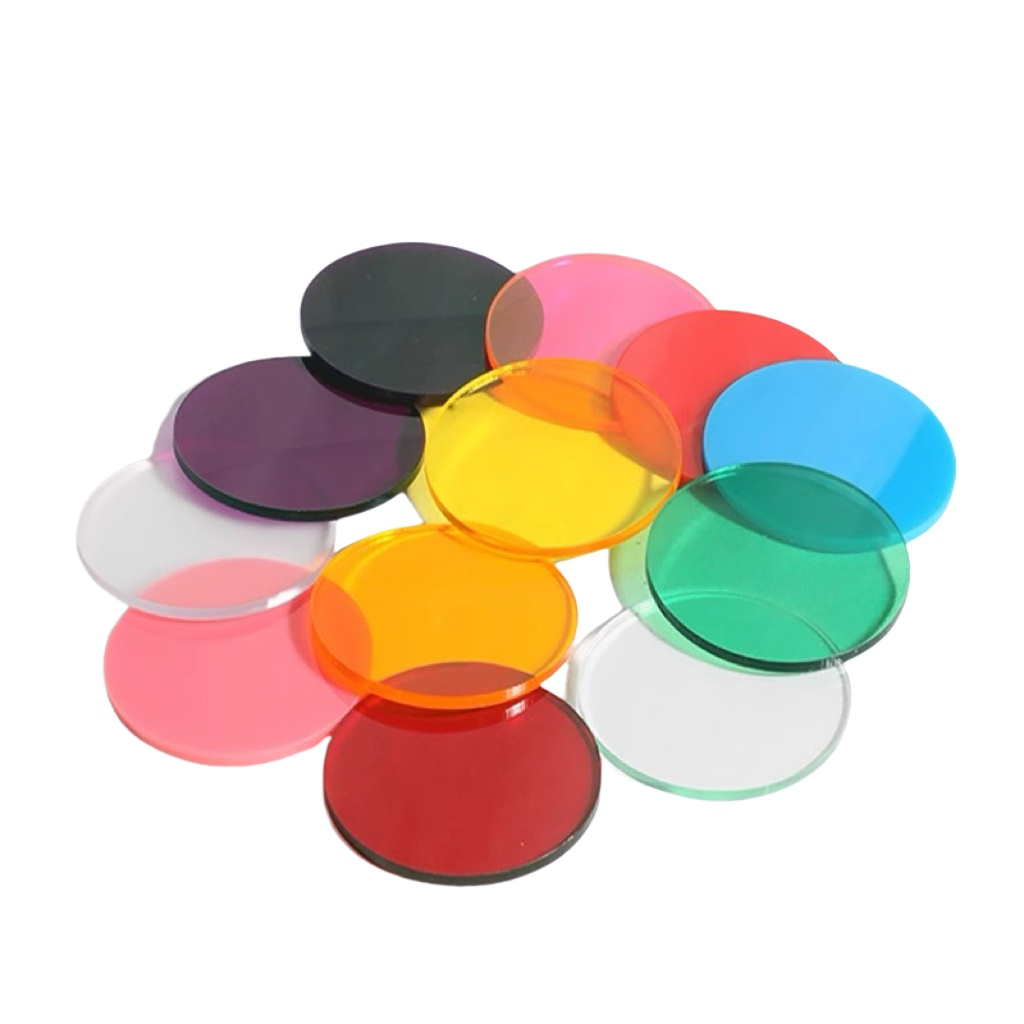
Key Considerations for Processing Colored Acrylic Products
Whether you need customize acrylic products, customized acrylic solutions, or specialized acrylic processing for your project, pay special attention to the following tips to ensure high-quality acrylic products. Proper techniques in acrylic processing can make all the difference in achieving durable and visually appealing results for both standard and customize acrylic designs.
Avoid Cracking
Acrylic is brittle, especially thin sheets, and prone to chipping or cracking during machining. Keep cutting/drilling speeds moderate, and use coolant (or water) to reduce heat and stress buildup.
Choose the Right Tools
Use sharp, acrylic-specific tools (e.g., single-flute spiral cutters). Standard metal tools can melt edges, leaving rough finishes.
Control Temperature
Laser cutting: Avoid excessive power to prevent melted/yellowed edges.
CNC milling: Higher spindle speeds are fine, but use slower feed rates to minimize heat-induced warping or tool sticking.
Protect the Surface
Colored acrylic often has coatings or pigments. Apply a protective film before machining to prevent scratches. Remove the film gently to avoid peeling the color layer.
Use Glue Carefully
For bonding, opt for acrylic-specific adhesives (e.g., chloroform). Avoid CA glue (e.g., "502"), as excess adhesive can corrode surfaces and ruin aesthetics.
Handle Gently
Acrylic is softer than metal. When clamping, use soft pads or rubber spacers to avoid pressure marks—never overtighten with pliers.
Clean Debris Promptly
Remove chips immediately after machining. Heat from friction can cause them to adhere to the workpiece, complicating post-processing.


